In this tutorial you will learn how to animate your objects with X3DOm.
For animating an object you first need a scene and a shape. Surround the shape with a transform tag and define a name which you use to address it later. If you don't know how to initialize a scene please take a look here first.
    <x3d width='500px' height='400px'>
    <scene>
	<transform DEF="ball">
	<shape>
		<appearance>
		<material diffuseColor='1 0 0'> </material>
		</appearance>
		<sphere></sphere>
	</shape>
	</transform>
    </scene>
    </x3d>
<timeSensor DEF="time" cycleInterval="2" loop="true"> </timeSensor>
The animations in X3DOM are based on the key frames animation. A key frame defines the starting and ending points of any smooth transition, and the way in between will be interpolated. Key Frames in X3DOM are defined within the positionInterpolator node.
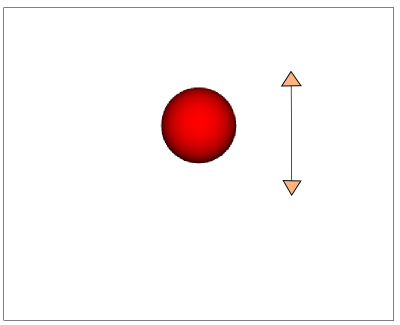
<PositionInterpolator DEF="move" key="0 0.5 1" keyValue="0 0 0 0 3 0 0 0 0"> </PositionInterpolator>
The key attribute defines the time of the keyFrames and the keyValue defines the position of the frames in coordinates (x,y,z).
You can think about them as key-value pairs separated by spaces. In the given example our first frame would occur directly on start
with the coordinates (0,0,0), the second frame after half a the specified time (1sec) with the position (0,3,0) and the last frame after two second has
the same coordinates as the first frame, which will create a proper animation loop.
Now all the preconditions are set and you are ready to define your routes. Although routes are not x3 nodes, they are written as additional tags into the scene. Each route connects an output field of one node to the input field of another node. Every time the output changes, this event is transported over the route and the changed value gets set to the input field. The types of the field have to match exactly, but there is no imperative coding needed to assign the values.
All you have to do is to specify the names of start and end node as well as the names of the fields. All connected nodes must be specified before the route statement that uses them. You can use the same output field for multiple routes, but using multiple routes to change the same input field often leads to unpredictable behavior. Events get only passed in the scene if a matching route exists. This allows high frame rates.
In this tutorial, we need two routes. The first route binds the positionInterpolator to the timeSensor and the second route
binds the sphere to the positionInterpolator.
	<Route fromNode="time" fromField ="fraction_changed" toNode="move" toField="set_fraction> </Route>
	<Route fromNode="move" fromField ="value_changed" toNode="ball" toField="translation> </Route>
Your animation should now work and you can modify and extend it as you want. If you want to manipulate the output data before sending it to the input field, check out the next tutorial about the OnOutputChange Event.
 Display example HTML file
 Download full example (.zip archive)